Step-by-Step Guide: How to Convert PNG to WebP

In today’s fast-paced digital world, optimizing images for the web is crucial for improving website performance and user experience.
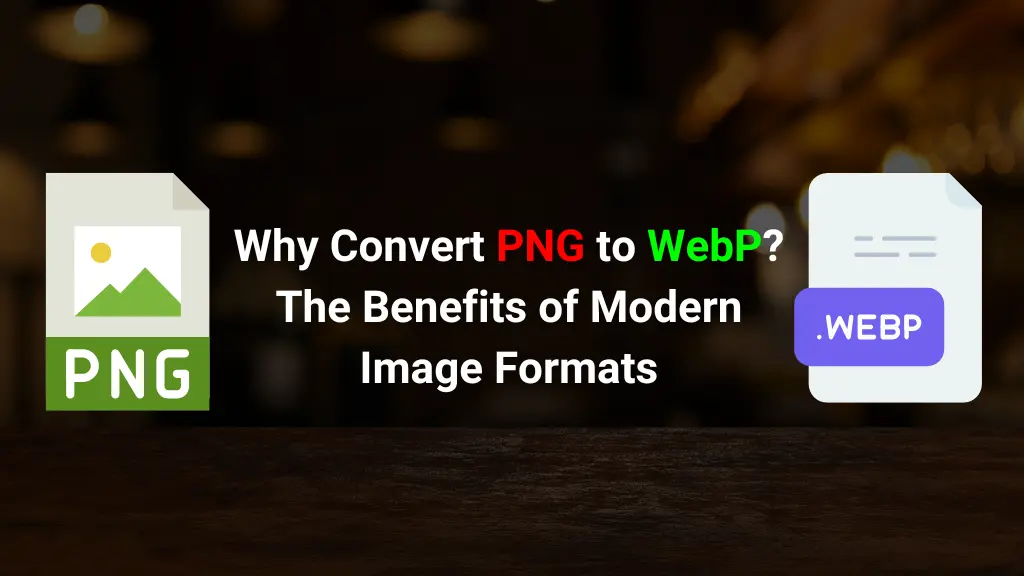
One of the most effective ways to achieve this is by converting PNG files to WebP, a modern image format developed by Google.
WebP offers superior compression and quality compared to traditional formats like PNG and JPEG, making it an excellent choice for web developers and content creators.
In this step-by-step guide, we’ll walk you through the process of converting PNG to WebP using various tools and methods. Whether you’re a beginner or a seasoned pro, this guide has got you covered!
Why Convert PNG to WebP?
Before diving into the conversion process, let’s quickly look at why WebP is worth considering:
- Smaller File Sizes: WebP images are typically 25-35% smaller than PNGs without sacrificing quality.
- Better Compression: WebP supports both lossy and lossless compression, giving you flexibility in balancing quality and file size.
- Faster Load Times: Smaller file sizes mean faster page load times, which is critical for SEO and user experience.
- Wide Browser Support: WebP is supported by most modern browsers, including Chrome, Firefox, Edge, and Safari.
Step 1: Choose Your Conversion Tool
There are several tools available to convert PNG to WebP. Here are some popular options:
- Online Converters: Easy-to-use tools like CloudConvert, Convertio, or Squoosh.
- Desktop Software: Programs like XnConvert, GIMP, or Adobe Photoshop.
- Command-Line Tools: Advanced users can use tools like
cwebp(part of Google’s WebP utilities).
For this guide, we’ll cover both online and offline methods.
Step 2: Convert PNG to WebP Using an Online Tool
If you’re looking for a quick and easy solution, online converters are your best bet. Here’s how to use them:
- Visit an Online Converter: Go to a website like CloudConvert or Squoosh.
- Upload Your PNG File: Click the “Upload” button and select the PNG file you want to convert.
- Adjust Settings (Optional): Some tools allow you to adjust quality, compression level, or resize the image.
- Convert and Download: Click the “Convert” button, wait for the process to complete, and download your WebP file.
Pros: No software installation required; user-friendly.
Cons: Limited customization options; requires an internet connection.
Step 3: Convert PNG to WebP Using Desktop Software
For more control over the conversion process, desktop software is a great option. Here’s how to do it with XnConvert:
- Download and Install XnConvert: Visit XnConvert’s website and download the software for your operating system.
- Add Your PNG File: Open XnConvert and click “Add Files” to import your PNG image.
- Set Output Format: Under the “Output” tab, choose “WebP” as the format.
- Adjust Settings (Optional): Customize compression, quality, and other settings as needed.
- Convert: Click “Convert” and save the WebP file to your desired location.
Pros: More control over settings; works offline.
Cons: Requires software installation.
Step 4: Convert PNG to WebP Using Command-Line Tools
For advanced users, command-line tools like cwebp offer the most flexibility. Here’s how to use it:
- Install WebP Utilities: Download and install the WebP utilities from Google’s official page.
- Open Command Prompt or Terminal: Navigate to the directory where your PNG file is located.
- Run the Conversion Command: Use the following command to convert your PNG to WebP: cwebp input.png -o output.webp You can also specify quality levels (0-100) with the
-qflag: cwebp input.png -q 80 -o output.webp - Check the Output: The WebP file will be saved in the same directory.
Pros: Highly customizable; ideal for batch processing.
Cons: Requires technical knowledge.
Step 5: Verify and Use Your WebP Image
Once you’ve converted your PNG to WebP, it’s a good idea to verify the results:
- Check File Size: Compare the size of the WebP file to the original PNG to ensure it’s smaller.
- Inspect Quality: Open the WebP file in an image viewer or browser to confirm the quality meets your standards.
- Implement on Your Website: Use the WebP image in your HTML or CSS, and consider adding fallbacks for unsupported browsers: <picture> <source srcset=”image.webp” type=”image/webp”> <img src=”image.png” alt=”Description”> </picture>
Bonus Tips for Optimizing WebP Images
- Experiment with Compression: Test different quality settings to find the perfect balance between size and quality.
- Use Batch Conversion: If you have multiple PNGs to convert, use tools like XnConvert or command-line scripts to save time.
- Leverage CDNs: Content Delivery Networks (CDNs) like Cloudflare can automatically convert and serve WebP images to supported browsers.
Conclusion
Converting PNG to WebP is a simple yet powerful way to optimize your images for the web. Whether you prefer online tools, desktop software, or command-line utilities, there’s a method that suits your needs.
By adopting WebP, you can significantly improve your website’s performance, reduce bandwidth usage, and enhance the user experience.
So, what are you waiting for? Start converting your PNGs to WebP today and take your web optimization game to the next level!
Have questions or tips about converting PNG to WebP? Share them in the comments below! 🚀


[…] a step-by-step guide to help you choose the perfect niche for your […]
[…] dashboard is designed with beginners in mind, featuring clear icons, step-by-step guides, and quick access to essential tools. Whether you’re installing WordPress, setting up email […]